Bootstrap Textarea Input
Introduction
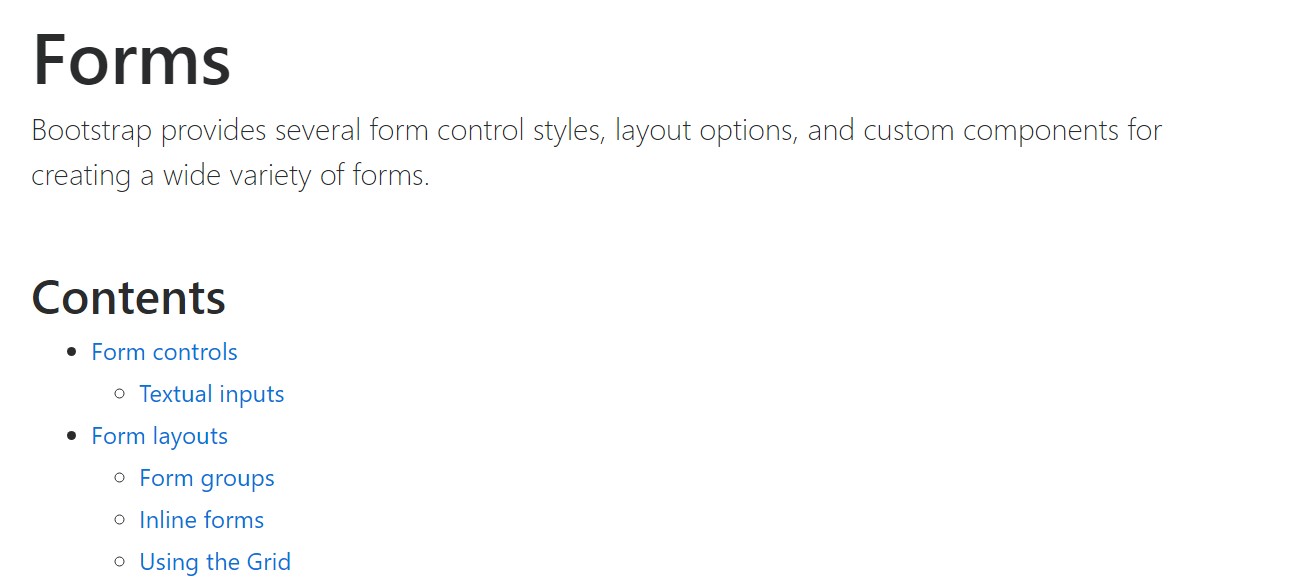
In the pages we make we use the form components in order to gather a number of info from the site visitors and return it back to the site founder completing different functions. To do it effectively-- meaning receiving the right answers, the right questions have to be asked so we architect out forms system properly, thinking of all the possible circumstances and types of information needed and possibly presented.
Yet despite how correct we operate in this, currently there constantly are some scenarios when the info we require from the user is relatively blurry right before it gets actually offered and has to spread over even more than simply the regular a single or a handful of words generally filled in the input fields. That is definitely where the # element shows up-- it is actually the irreplaceable and only element through which the visitors may easily write back certain terms providing a responses, sharing a good reason for their activities or just a handful of ideas to hopefully support us producing the services or product the page is about even better. ( discover more here)
Steps to utilize the Bootstrap textarea:
Inside of the current edition of the most prominent responsive framework-- Bootstrap 4 the Bootstrap Textarea Table feature is completely supported instantly adapting to the size of the display screen page becomes displayed on.
Generating it is pretty straightforward - all you really need is a parent wrapper
<div>.form-grouplabel<textarea>for = “ - the textarea ID - "Next we ought to build the
<textarea>.form-controlfor = ""<label><textarea>rows=" ~ number ~ "<textarea>Considering that this is actually a responsive element by default it spreads out the whole width of its parent feature.
A bit more ideas
On the other side-- there are certainly some cases you might intend to reduce the responses supplied within a
<textbox>maxlenght = " ~ some number here ~ "Representations
Bootstrap's form controls increase on Rebooted form styles with classes. Use these particular classes to opt right into their modified displays for a more regular rendering throughout browsers and tools . The example form here shows typical HTML form elements which get updated designs from Bootstrap with supplementary classes.
Bear in mind, due to the fact that Bootstrap applies the HTML5 doctype, each of inputs need to have a
type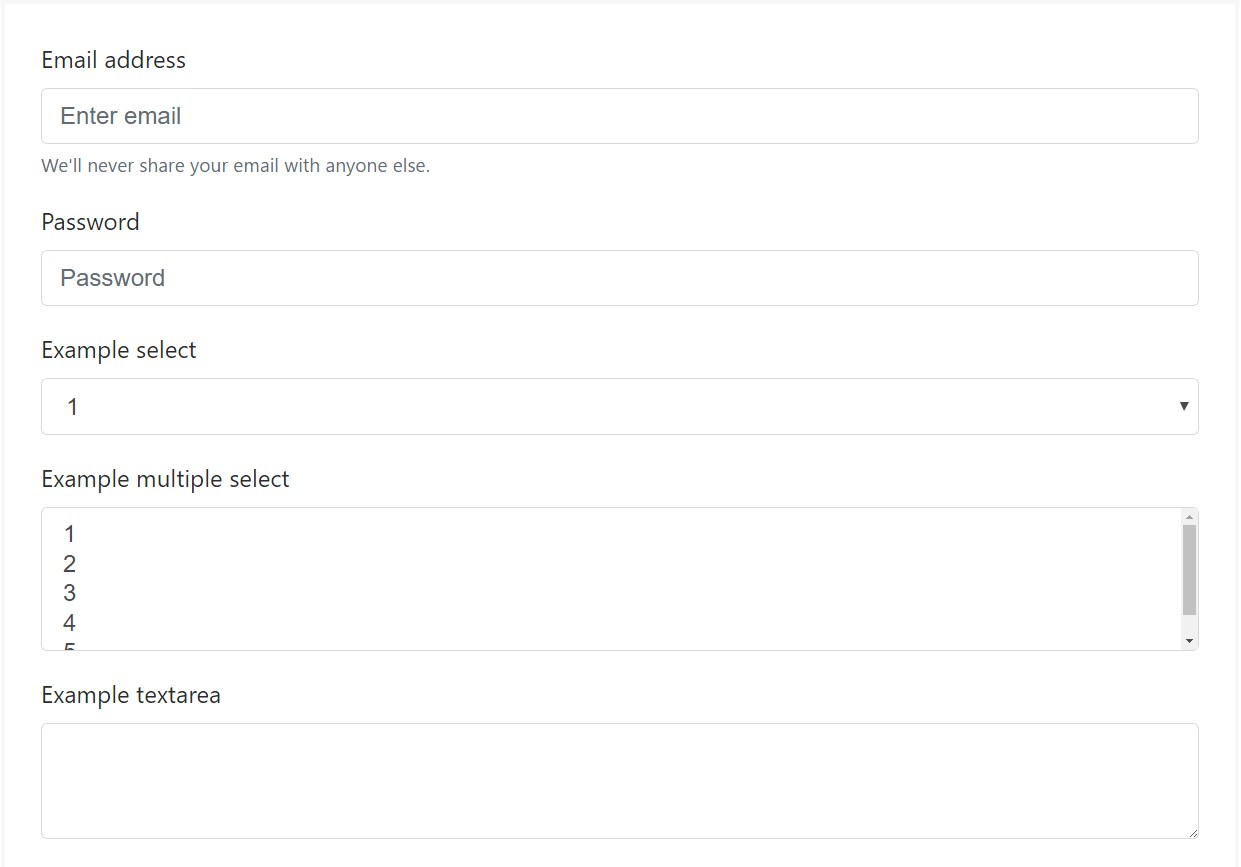
<form>
<div class="form-group">
<label for="exampleInputEmail1">Email address</label>
<input type="email" class="form-control" id="exampleInputEmail1" aria-describedby="emailHelp" placeholder="Enter email">
<small id="emailHelp" class="form-text text-muted">We'll never share your email with anyone else.</small>
</div>
<div class="form-group">
<label for="exampleInputPassword1">Password</label>
<input type="password" class="form-control" id="exampleInputPassword1" placeholder="Password">
</div>
<div class="form-group">
<label for="exampleSelect1">Example select</label>
<select class="form-control" id="exampleSelect1">
<option>1</option>
<option>2</option>
<option>3</option>
<option>4</option>
<option>5</option>
</select>
</div>
<div class="form-group">
<label for="exampleSelect2">Example multiple select</label>
<select multiple class="form-control" id="exampleSelect2">
<option>1</option>
<option>2</option>
<option>3</option>
<option>4</option>
<option>5</option>
</select>
</div>
<div class="form-group">
<label for="exampleTextarea">Example textarea</label>
<textarea class="form-control" id="exampleTextarea" rows="3"></textarea>
</div>
<div class="form-group">
<label for="exampleInputFile">File input</label>
<input type="file" class="form-control-file" id="exampleInputFile" aria-describedby="fileHelp">
<small id="fileHelp" class="form-text text-muted">This is some placeholder block-level help text for the above input. It's a bit lighter and easily wraps to a new line.</small>
</div>
<fieldset class="form-group">
<legend>Radio buttons</legend>
<div class="form-check">
<label class="form-check-label">
<input type="radio" class="form-check-input" name="optionsRadios" id="optionsRadios1" value="option1" checked>
Option one is this and that—be sure to include why it's great
</label>
</div>
<div class="form-check">
<label class="form-check-label">
<input type="radio" class="form-check-input" name="optionsRadios" id="optionsRadios2" value="option2">
Option two can be something else and selecting it will deselect option one
</label>
</div>
<div class="form-check disabled">
<label class="form-check-label">
<input type="radio" class="form-check-input" name="optionsRadios" id="optionsRadios3" value="option3" disabled>
Option three is disabled
</label>
</div>
</fieldset>
<div class="form-check">
<label class="form-check-label">
<input type="checkbox" class="form-check-input">
Check me out
</label>
</div>
<button type="submit" class="btn btn-primary">Submit</button>
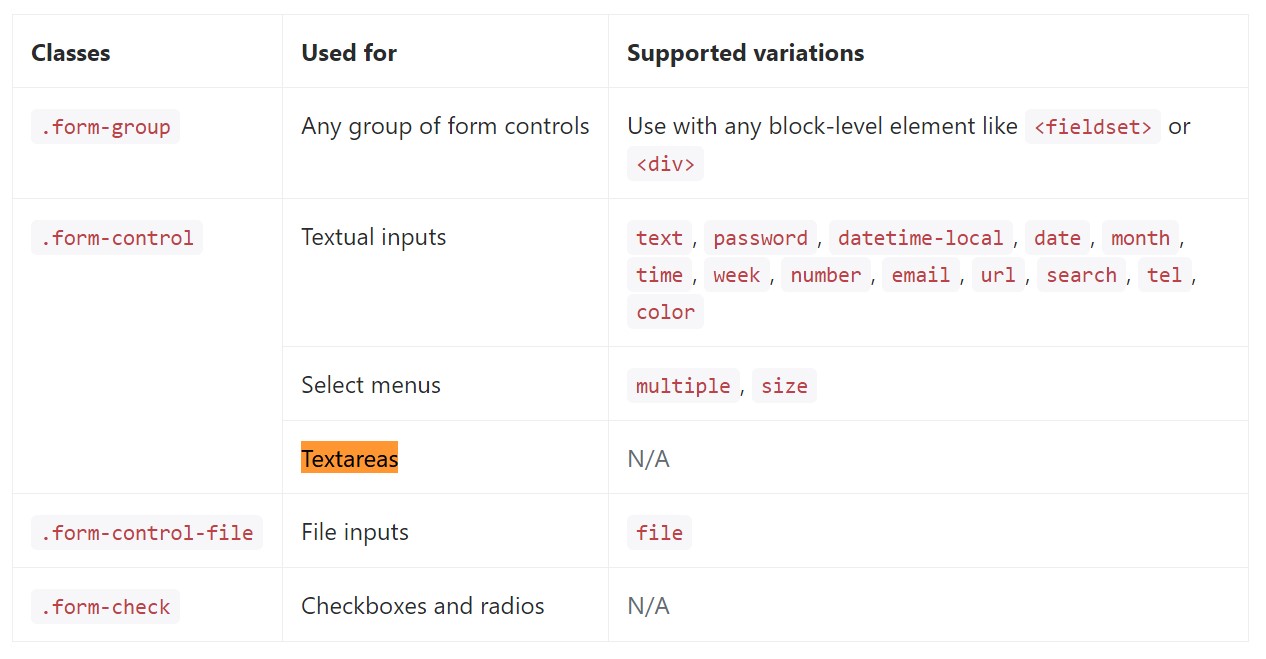
</form>Here is generally a complete list of the specific form controls supported by means of Bootstrap plus the classes that customize them. Additional documentation is accessible for each group.
Final thoughts
So now you find out ways to develop a
<textarea>Examine a few on-line video information regarding Bootstrap Textarea Modal:
Related topics:
Basics of the textarea
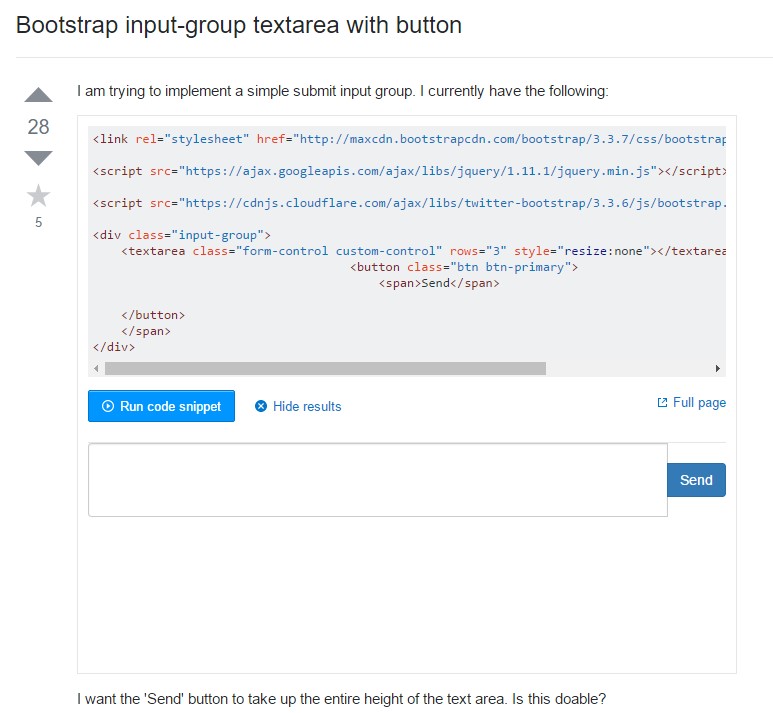
Bootstrap input-group Textarea button with
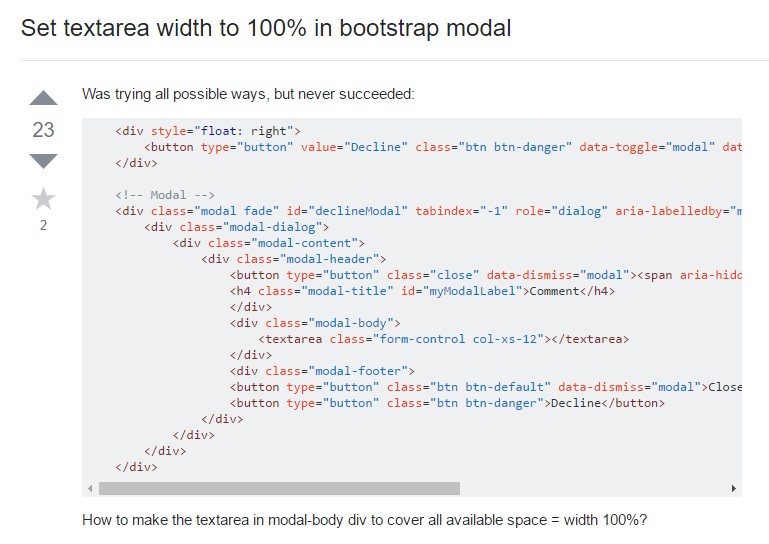
Set Textarea width to 100% in Bootstrap modal